1) Login to your control panel e.g. http://yourdomain.com:2222 and click on "Installatron Applications Installer" as shown below.

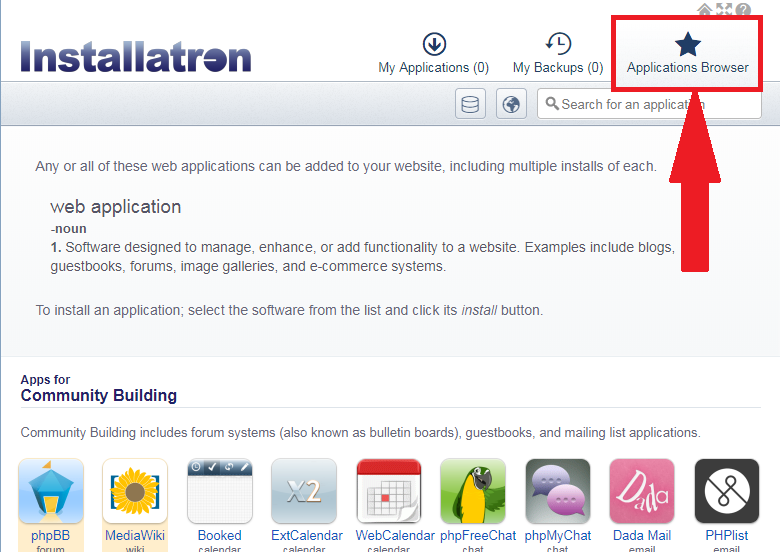
2) You are now in Installatron Introduction page (Applications Browser).
3) Search for "Apps for Content Management" and select "Wordpress"

4) Click "Install This Application".

5) You now have 2 options to install your Wordpress blog.
Option #1:
If you plan to install the blog in your root domain i.e. www.yourdomain.com, then leave the "Directory (Optional)" blank.

Option #2:
If you plan to install the blog in your subfolder i.e. www.yourdomain.com/blog, then enter your details under "Directory (Optional)".

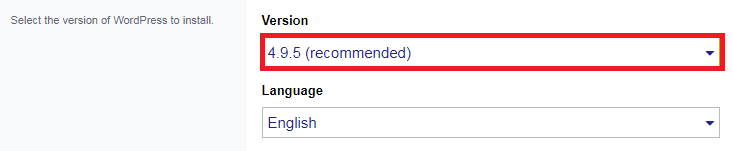
6) Select the version of Wordpress to install and hit "Next". Note: Always choose the latest version to prevent security risk.
7) Accept Wordpress EULA license and keep the default settings as shown below:

8) Enter your administrator username, password and email address. Include your Blog Title as well. Keep the remaining options as shown below.

9) Select "Automatically manage advanced settings for me" and click the "Install" button.

10) Installation complete. Here's what you'll see at the setup finalization page.
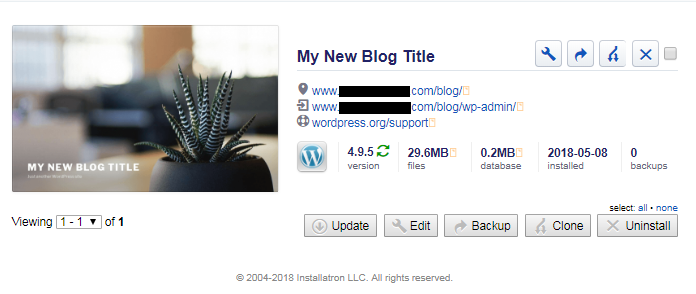
11) Click on your new Wordpress blog link. If you can view your blog as shown below, then installation of Wordpress blog is successful.

