How to Setup Email Account on Android 7.0 Nougat (cPanel)
The following tutorial is designed to configure your cPanel email address on Android 7.x.x device :
1) Open Mail app on the main screen of your Android device.
2) Insert the full cPanel email address in 'Enter email address' field and the password to it in 'Enter password' field.
Select IMAP or POP3 protocol below and hit 'Sign in'.
3) In order to set up IMAP email address, use the following settings:
- in 'Accounts' section:
Email: full cPanel email address
Username: full cPanel email address
Password: to that cPanel email address
- in 'Incoming mail server' section:
Server: the server name where the domain is hosted.
For example, unicorn.sfdns.net or mail.yourdomain.com
Port: 993
Security type: SSL/TLS (Accept all certificates)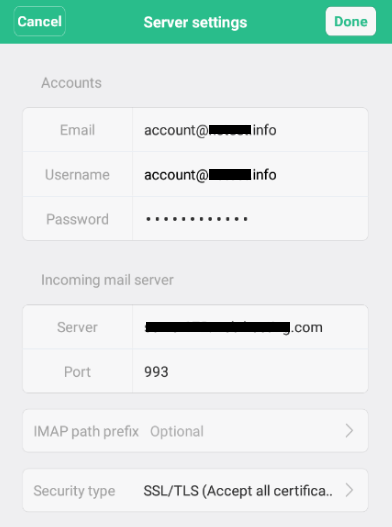
- in 'Outgoing mail server' section:
SMTP server: the server name where the domain is hosted.
For example, unicorn.sfdns.net or mail.yourdomain.com
Port: 465 or 587
Security type: SSL/TLS (Accept all certificates)
SMTP independent verification: should be checked
Username: full cPanel email address
Password: to that cPanel email address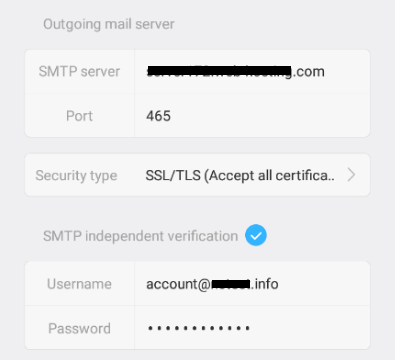
Press on Done in the top-right corner to finish the setup.
4. In order to set up POP3 email address, use the following settings:
- in 'Accounts' section:
Email: full cPanel email address
Username: full cPanel email address
Password: to that cPanel email address
- in 'Incoming mail server' section:
Server: the server name where the domain is hosted.
For example, unicorn.sfdns.net or mail.yourdomain.com
Port: 995
Remove mail from server: select 'Never' or 'When I delete from Trash'
Security type: SSL/TLS (Accept all certificates)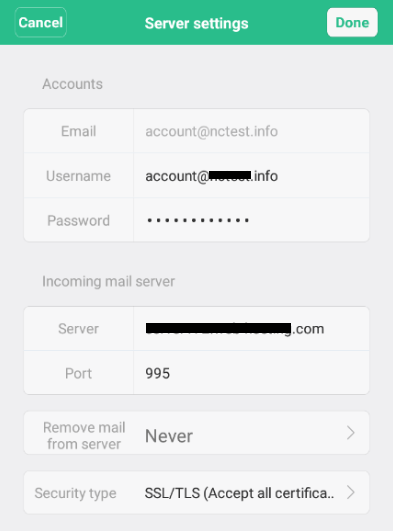
- in 'Outgoing mail server' section:
SMTP server: the server name where the domain is hosted.
For example, unicorn.sfdns.net or mail.yourdomain.com
Port: 465 or 587
Security type: SSL/TLS (Accept all certificates)
SMTP independent verification: should be checked
Username: full cPanel email address
Password: to that cPanel email address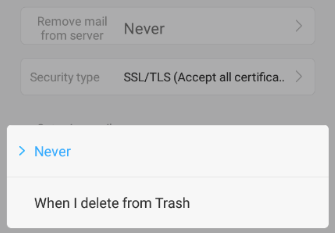
Press on Done in the top-right corner to finish the setup.
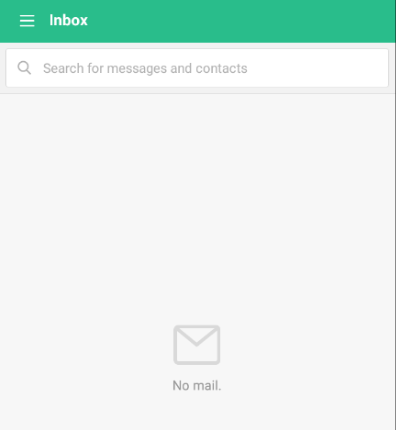
5. If the setup is successful without any error, the following screen shows up: