How to Setup Outlook Office 365 with Outlook 2016 Using POP Settings
- 07/06/2018 7:15 PM
This article is intended for email accounts that are using Outlook Office 365 using Outlook 2016.
POP Settings will be shown in this tutorial.
Outlook Office 365 – POP Settings Setup
1) Search and open Outlook.
2) Click the File tab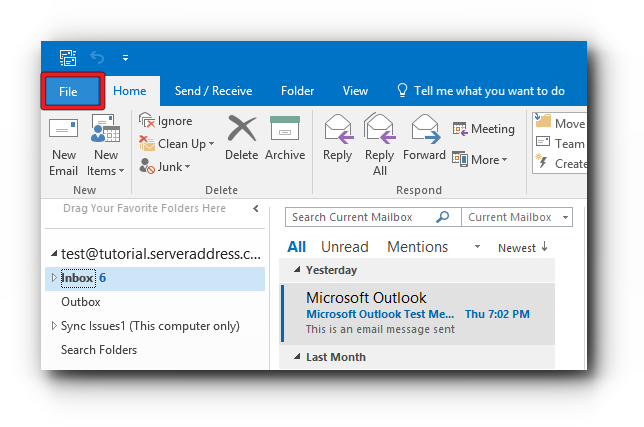
3) Click + Add Account as highlighted below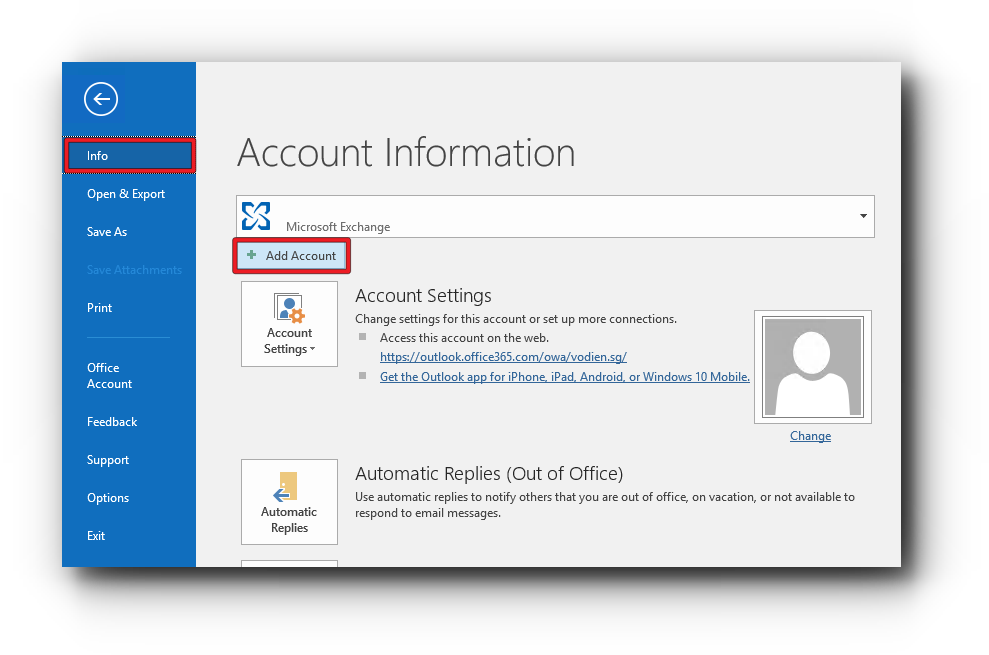
4) Enter the email address and tick the checkbox “Let me set up my account manually”. Click “Connect” button.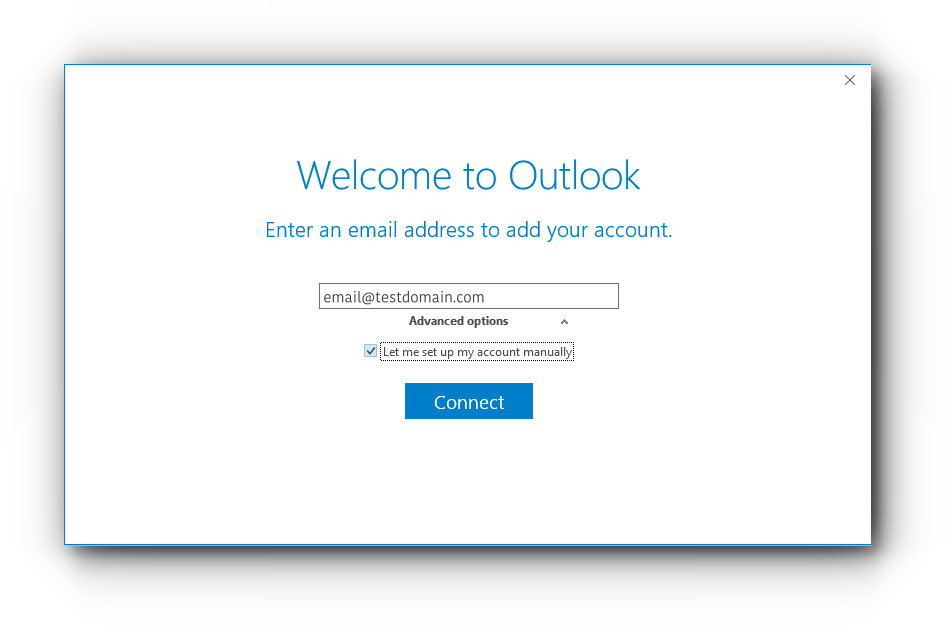
5) From the “Choose account type”, select “POP”
6) Enter the following POP settings:
Incoming mail:
- Server – outlook.office365.com
- Port – 995
- Tick the checkbox “This server requires an encrypted connection (SSL/TLS)
Outgoing mail:
- Server – smtp.office365.com
- Port – 587
- Encryption method – STARTTLS
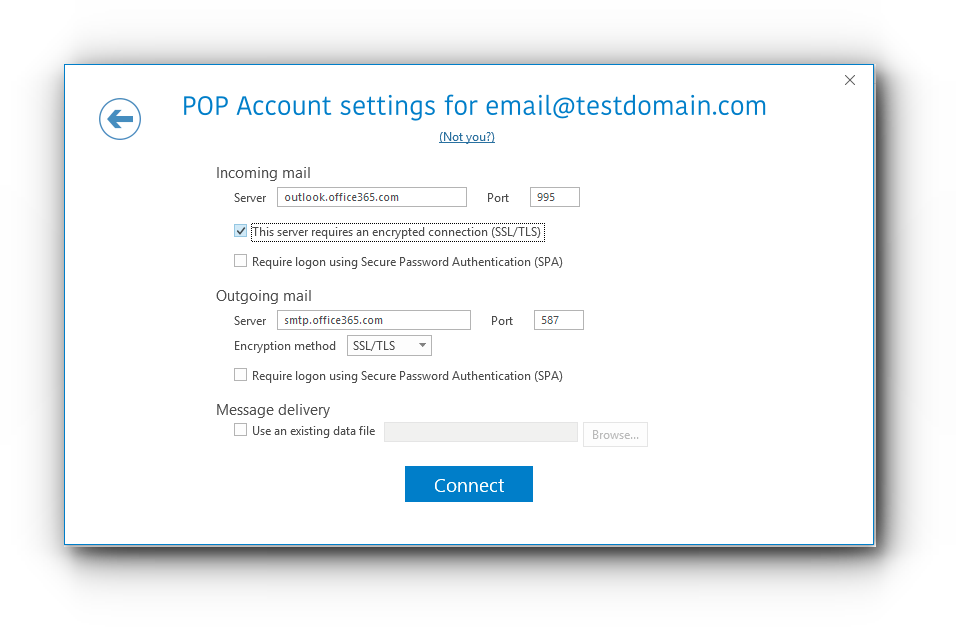
7) Click “Connect” button to continue.
8) Outlook 2016 will then try to connect to the server.
Enter the password for the email account for the incoming mail server and click “OK” button.
9) Enter the email account password again for the outgoing mail server and click “OK” button.
(Note: Save this password in your password list is optional.)
10) Account setup is complete and you may now use POP for your email account.
