Laravelis a free, open-sourcePHP web application framework. It provides an expressive, elegant syntax and is used for the development of web applications following the model–view–controller (MVC) architectural pattern. Developers believe development must be an enjoyable, creative experience to be truly fulfilling. Laravel attempts to take the pain out of development by easing common tasks used in the majority of web projects, such as authentication, routing, sessions, queueing, and caching. Laravel is accessible, yet powerful, providing powerful tools needed for large, robust applications.
As of March 2015, Laravel is regarded as one of the most popular PHP frameworks, together with Symfony2, Nette, CodeIgniter, Yii2 and other frameworks. Documentation for the framework can be found on theLaravel website. You are able to choose two different variants of Laravel installation – automatic via the Softaculous installer and manual.
Laravel automatic installation via the Softaculous script installer
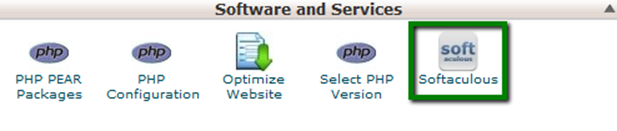
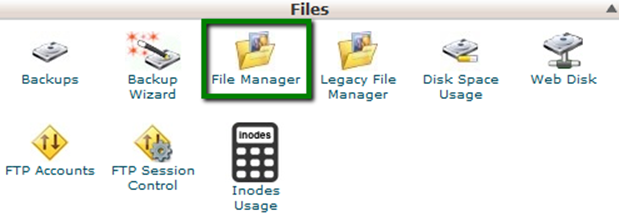
First of all, you need to log into your cPanel account and findSoftaculousmenu inSoftware and Services section:
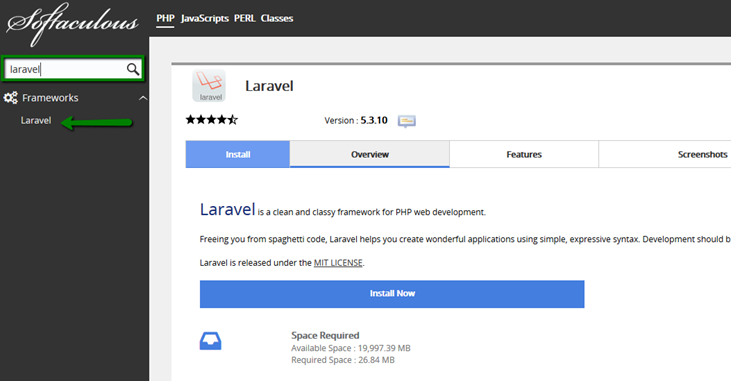
Once done, you will be redirected to Softaculous main page. Type Laravel in the search bar and click on the result:
Move toInstalltab, there you will be prompted to choose the folder where Laravel will be installed. Feel free to choose the one you need (note that this directory will be created by Softaculous):
Other software which should be installed in order to set up Laravel isComposer. It is a tool for dependency management in PHP. It allows you to declare the libraries your project depends on, and it will manage (install/update) them for you. Composer isnot a package manager in the same sense as Yum or Apt are. Yes, it deals with 'packages' or libraries, but it manages them on a per-project basis, installing them in a directory (e.g., vendor) inside your project. By default, it will never install anything globally. Thus, it is a dependency manager.
1) Please make sure you have SSH access on your hosting package. If you do not have access to SSH, kindly open a support ticket in order for us to enable for you. (Please note that not all shared hosting package has SSH access).
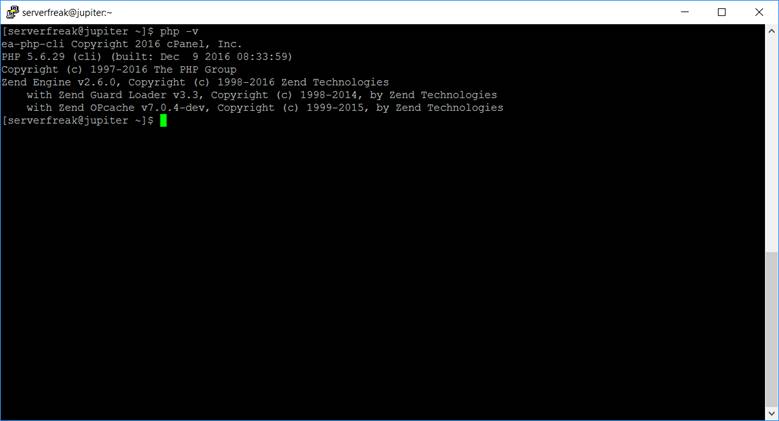
2) Laravel and Composer requirePHP 5.5 version, so we need to check whether the needed version is set up. Type the php -v command in PuTTY (or in Terminal) and you will get the following output:
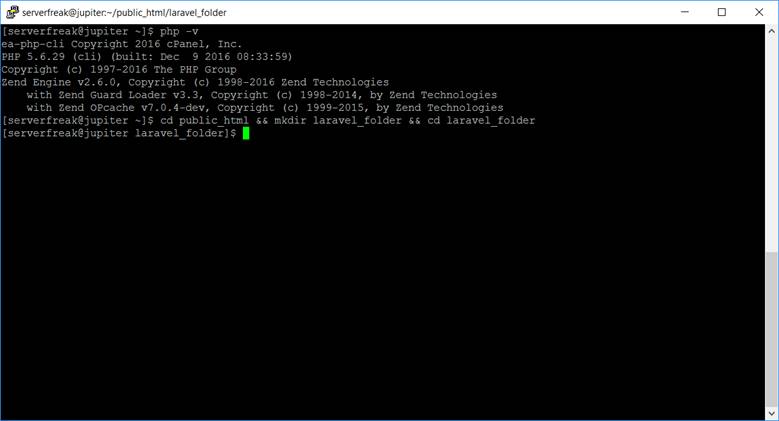
4) Now you need to decide where you wish to put your Laravel For example, we will createlaravel_folder in public_html using the following command:
cd public_html && mkdirlaravel_folder && cd laravel_folder
This line can be divided into three separate commands:
cd public_html: navigation to thepublic_html folder, since after logging in you will be located in the/home/username/ folder by default mkdirlaravel_folder:mkdircommand will create of a new folder namedlaravel_folder, you can replacelaravel_folder with any desired name cd laravel_folder:navigation to the newly createdlaravel_folder &&:used for combination of several different commands.
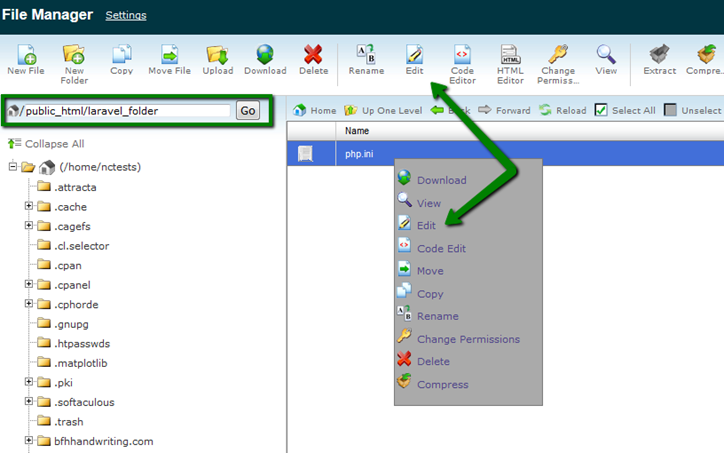
5) Then you need to copyini file from the default location on the server to your laravel_folder using this command:
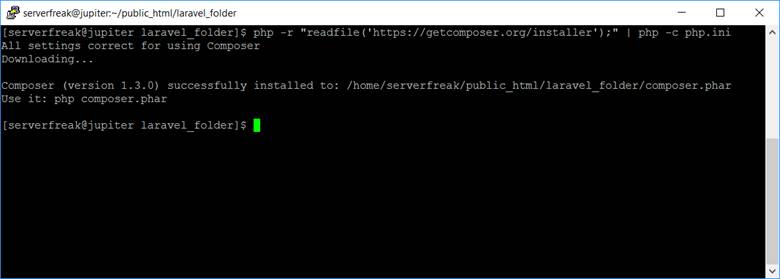
7) When all the preparations are done, you are ready to install Composer and then Laravel. Open PuTTY window where you have logged into your cPanel account and fill in the following command:
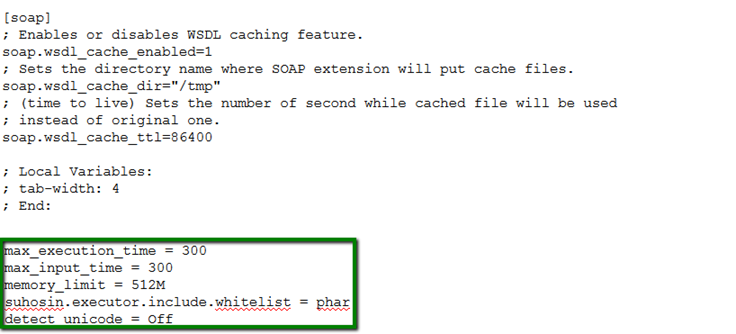
In case you get a notificationSome settings on your machine make Composer unable to work properly, make sure that the PHP version is 5.5 or higher and all the changes in the php.ini file are saved.
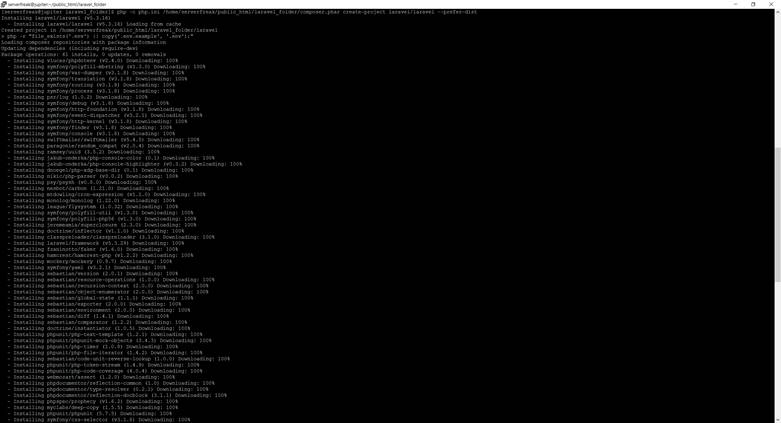
8) Now you are ready to install Laravel. Execute the command provided below:
NOTE: make sure that you replace the default details with the actual ones –usernameshould be replaced with your cPanel username,directoryshould be replaced with the name of the folder you installed Composer to.
You will see the output like it is shown in the screenshot which means that some dependencies are installing:
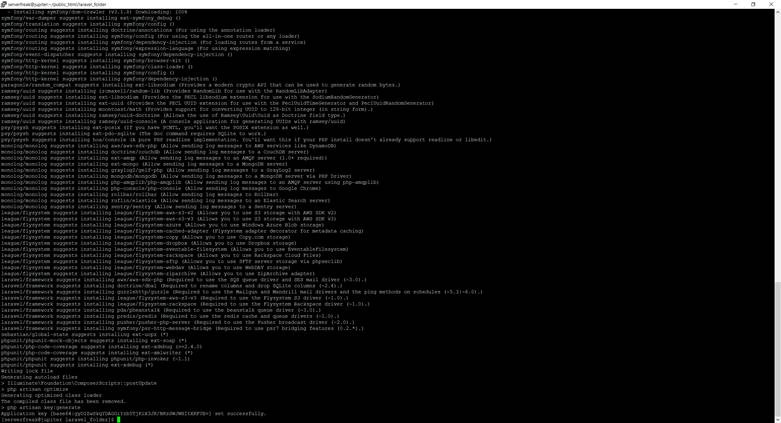
Once the installation is successfully completed, you will get this output:
By default, Laravel installation will be installed inlaravelfolder in the same directory chosen for Composer installation.