SpamExperts Guide
- 06/03/2015 3:31 PM
SpamExperts control panel can be opened through here.
Click on the Login to Control Panel link inside the chosen service in order to open the SpamExperts control panel.
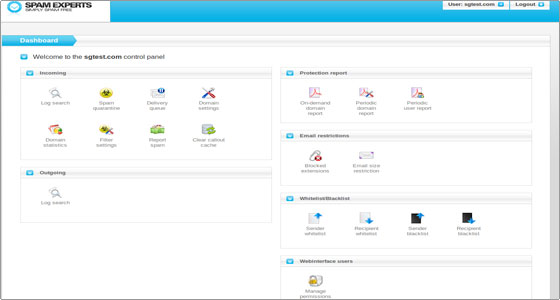
The dashboard is divided in different sections:
- Incoming section
- Protection report section
- Email restrictions section
- Whitelist/Blacklist section
- Webinterface users section
- My account section
Incoming section
Log search
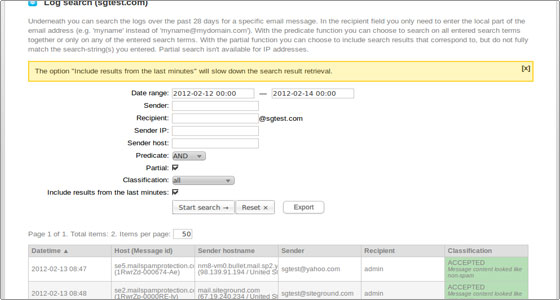
In this subsection the user can search the logs for a specific incoming e-mail message based on different criteria like the name, the host and the IP of the sender, the name of the recipient, a chosen data range and more.
- Spam quarantine
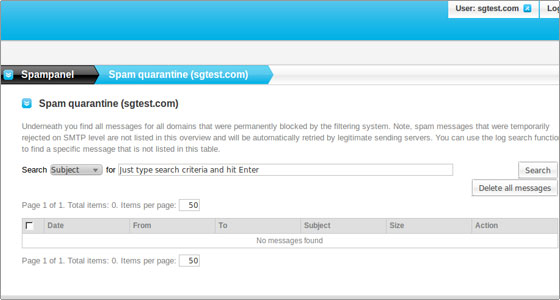
In the Spam quarantine area all the suspicious messages associated with the current domain are stored. It contains the messages that are permanently blocked by the anti-spam system. The messages' search is based on the Subject, Sender or Recipient values. The messages can be deleted or released. If they are released they will appear in the recipient's mail box. The cluster will be trained automatically which messages are legitimate and will release similar ones in the future.
The suspicious messages that are temporary rejected are not included in the quarantine system. Their delivery will be automatically retried by the sending servers.
- Delivery queue
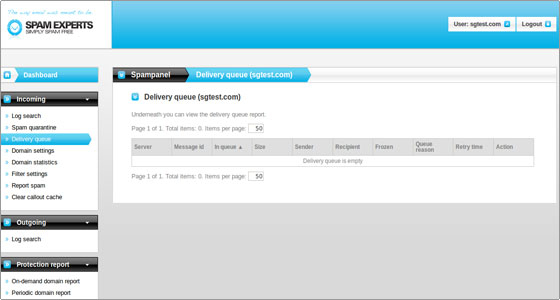
Here the client can find a list with the messages in the delivery queue associated with the corresponding e-mail accounts. The client can see the reason for the messages to stay in the queue and can try to manually force their delivery.
- Domain settings
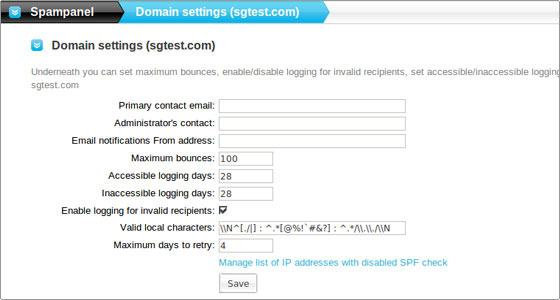
Here the clients can define the maximum number of bounces per the domain, turn on and off the logging for invalid recipients, define contact details for the domain and set the accessible and inaccessible logging days.
- Domain statistics
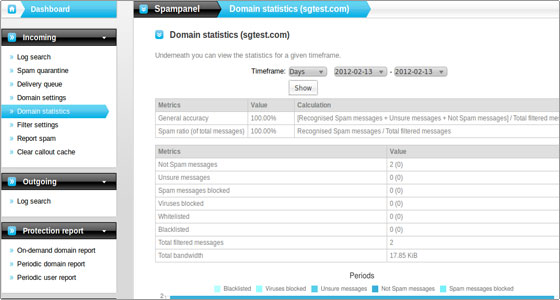
This function lists statistics for the domain for a chosen time frame.
- Filter settings
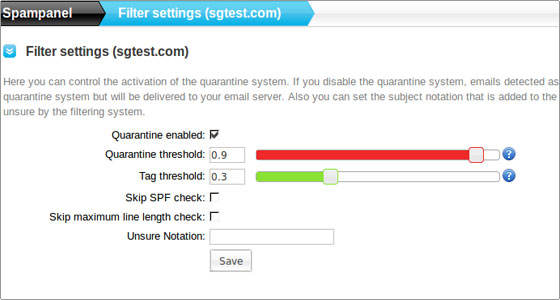
The filter settings allow to enable or disable the mail quarantine. If disabled the messages recognized as suspicious will not be kept on the mail cluster but will be delivered in the mail accounts. You can also add an unsure notation to the suspicious messages. Quarantine and tag thresholds for the notations can be adjusted. The SPF and the maximum line length checks can be skipped.
- Report spam
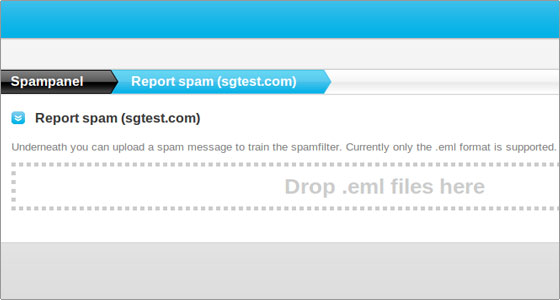
This section allows to train the spam filter by uploading .eml format files that contain spam.
- Clear callout cache
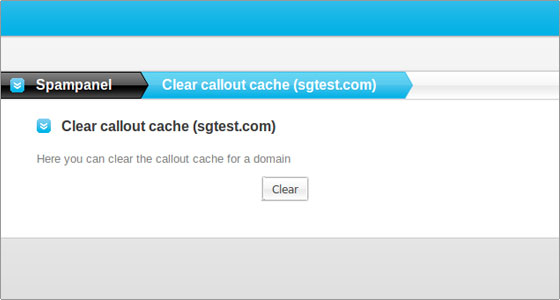
The information regarding the existing and non-existing recipient e-mail addresses is stored in the callout cache for up to two hours. It can be manually cleared through this web interface.
Protection report section
- On-demand domain report
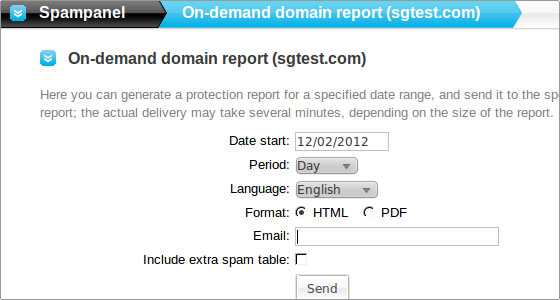
The on-demand report functionality allows to generate a report for a defined period of time and send it to a chosen e-mail account as an HTML document or a PDF file. The report will contain data regarding the detected spam messages and viruses and the temporary rejected ones.
- Periodic domain report
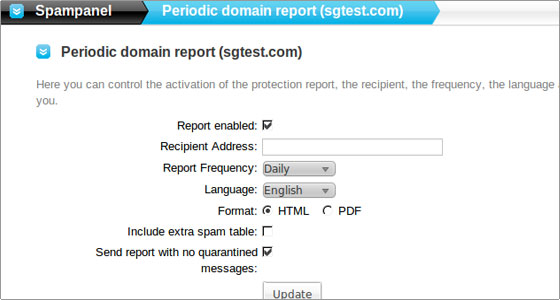
This option will allow to schedule the sending of protection reports to a chosen recipient daily or weekly.
- Periodic user report
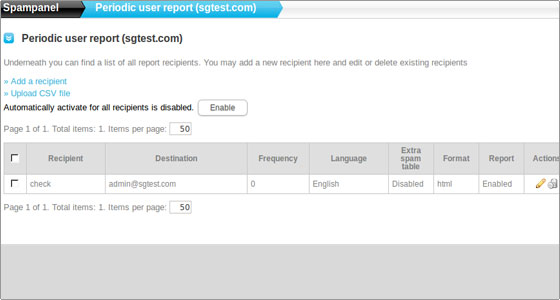
This area allows you do add, edit and delete recipients for the periodic reports.
Email restrictions section
- Blocked extensions
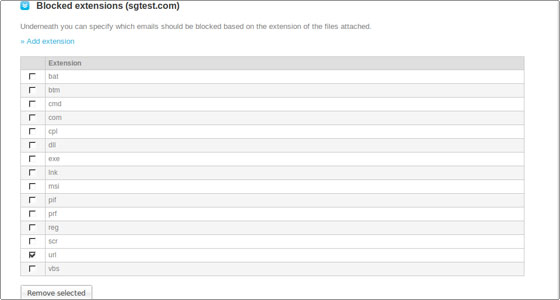
Here more file extensions that should be blocked by the spam filter can be added or existing ones can be removed from the list.
- Email size restriction
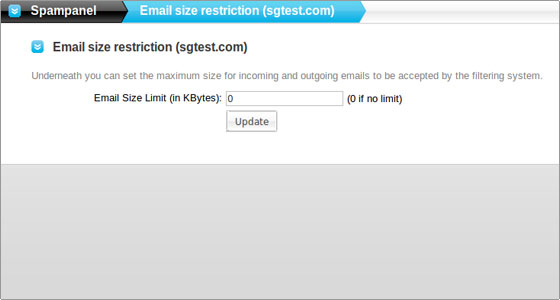
The maximum size for the incoming and outgoing messages can be set. The larger e-mails will be rejected.
Whitelist/Blacklist section
- Sender whitelist
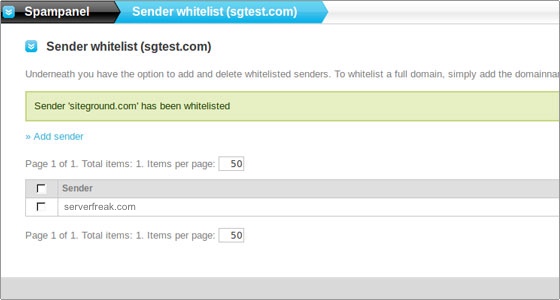
In this area hostnames and e-mail addresses can be whitelisted. All the messages that come from the whitelisted senders will not be filtered and will be delivered directly.
- Recipient whitelist
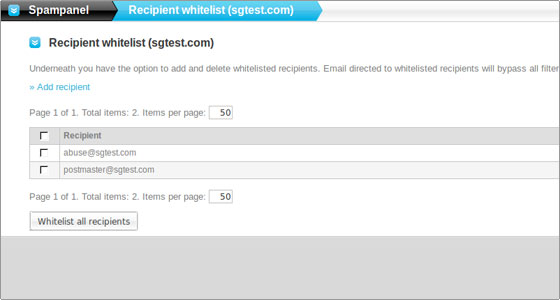
This option allows to whitelist recipients. The corresponding e-mail accounts will receive the messages without being filtered.
- Sender blacklist
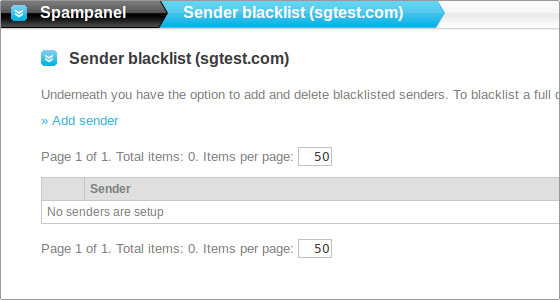
Here a list with the senders from which the messages should be rejected can be defined. Domains and e-mail accounts can be included.
- Recipient blacklist
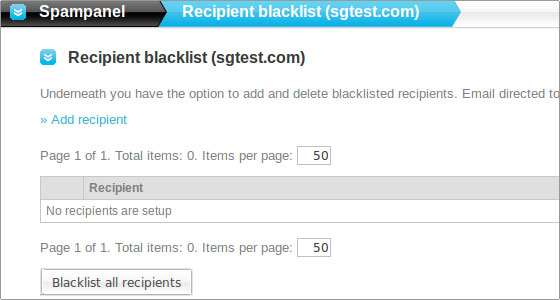
Allows to blacklist recipients' e-mail addresses. There is also an option to blacklist all the e-mail accounts associated with the corresponding domain.
Webinterface users section
- Manage permissions
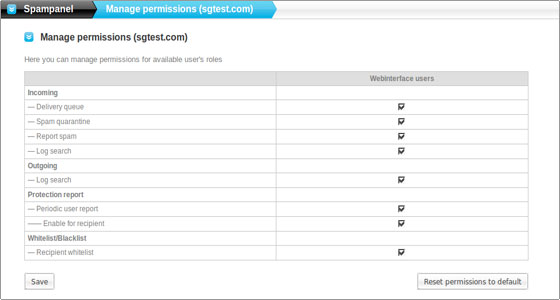
The user can enable or disable the management permissions for the current account.
My account section
- User's profile
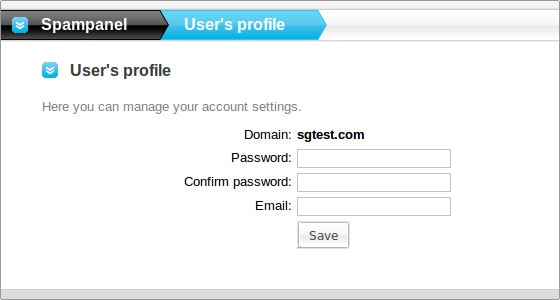
Here the user's password and the e-mail can be altered.
